Difference between revisions of "InstallationDHCP"
| Line 13: | Line 13: | ||
<div class="dashed-box"> | <div class="dashed-box"> | ||
''Note: only the following variables need to be set, leave all others at their default values.''<br /> | ''Note: only the following variables need to be set, leave all others at their default values.''<br /> | ||
| − | SITE= Location of | + | SITE= Location of workstation<br /> |
PAC_TYPE= Type of system (ex. web, catalog)<br /> | PAC_TYPE= Type of system (ex. web, catalog)<br /> | ||
PAC_LABEL= Name of workstation | PAC_LABEL= Name of workstation | ||
| Line 26: | Line 26: | ||
Once the install is complete, the CD-ROM tray will be ejected, remove the DVD while the system restarts itself and boots into Groovix. The first time Groovix boots up, it will check for updates, download and install them before you can log into the system. | Once the install is complete, the CD-ROM tray will be ejected, remove the DVD while the system restarts itself and boots into Groovix. The first time Groovix boots up, it will check for updates, download and install them before you can log into the system. | ||
| − | Once the updates have been downloaded and installed, the | + | Once the updates have been downloaded and installed, the machine will boot to the Groovix login screen. Staff can log in using the username [[gvuser]] along with the staff password regardless if SIP or guest authentication is being used. |
Revision as of 13:02, 17 October 2010
Installing Groovix using DHCP
At the Groovix boot menu screen, a list of options on installing Groovix is shown.
Arrow down to the "Fully Automatic Install - REFORMATS ENTIRE DRIVE!" option and press F6. A small pop-up will appear in the lower right-hand corner; press the [ESC] key to dismiss this window.
There will be a list of options for configuring the workstation displayed on the bottom of the screen shown here, highlighted in red. At the end of the line the cursor will be at PAC_LABEL=, type in a workstation name that will assist later in distinguishing each machine. This name must consist of only letters, numbers, underscores or dashes. For example, PAC_LABEL=opac1 or PAC_LABEL=inet-7. Each of the following values needs to be set as [variable]=[value], there should be no spaces after the equal sign (ex. SITE=MainFloor).
Note: only the following variables need to be set, leave all others at their default values.
SITE= Location of workstation
PAC_TYPE= Type of system (ex. web, catalog)
PAC_LABEL= Name of workstation
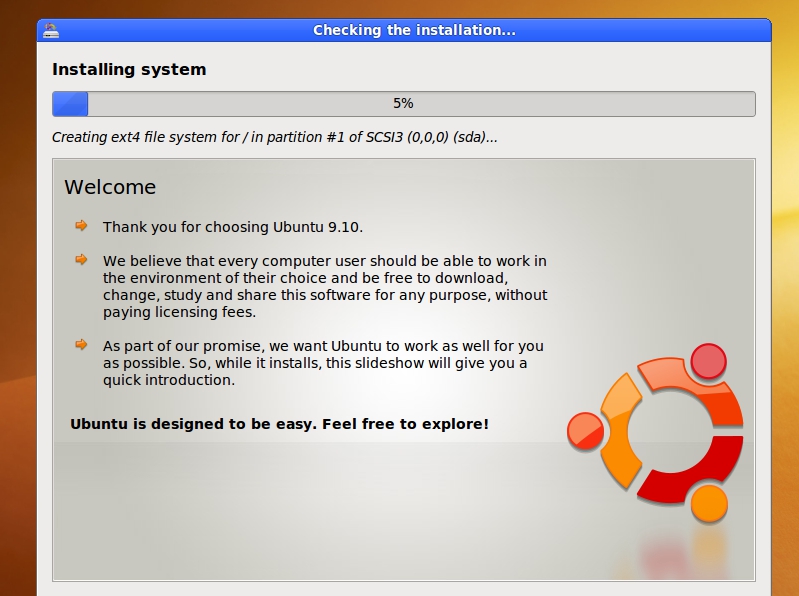
When all the information has been set, press [Enter]. The Groovix installer will now boot into a Graphical User Interface and automatically start the installation process; This process will complete in roughly 30 minutes.
Once the install is complete, the CD-ROM tray will be ejected, remove the DVD while the system restarts itself and boots into Groovix. The first time Groovix boots up, it will check for updates, download and install them before you can log into the system.
Once the updates have been downloaded and installed, the machine will boot to the Groovix login screen. Staff can log in using the username gvuser along with the staff password regardless if SIP or guest authentication is being used.

